
Hands-On: Render and Review a Diagram Before Jekyll Builds
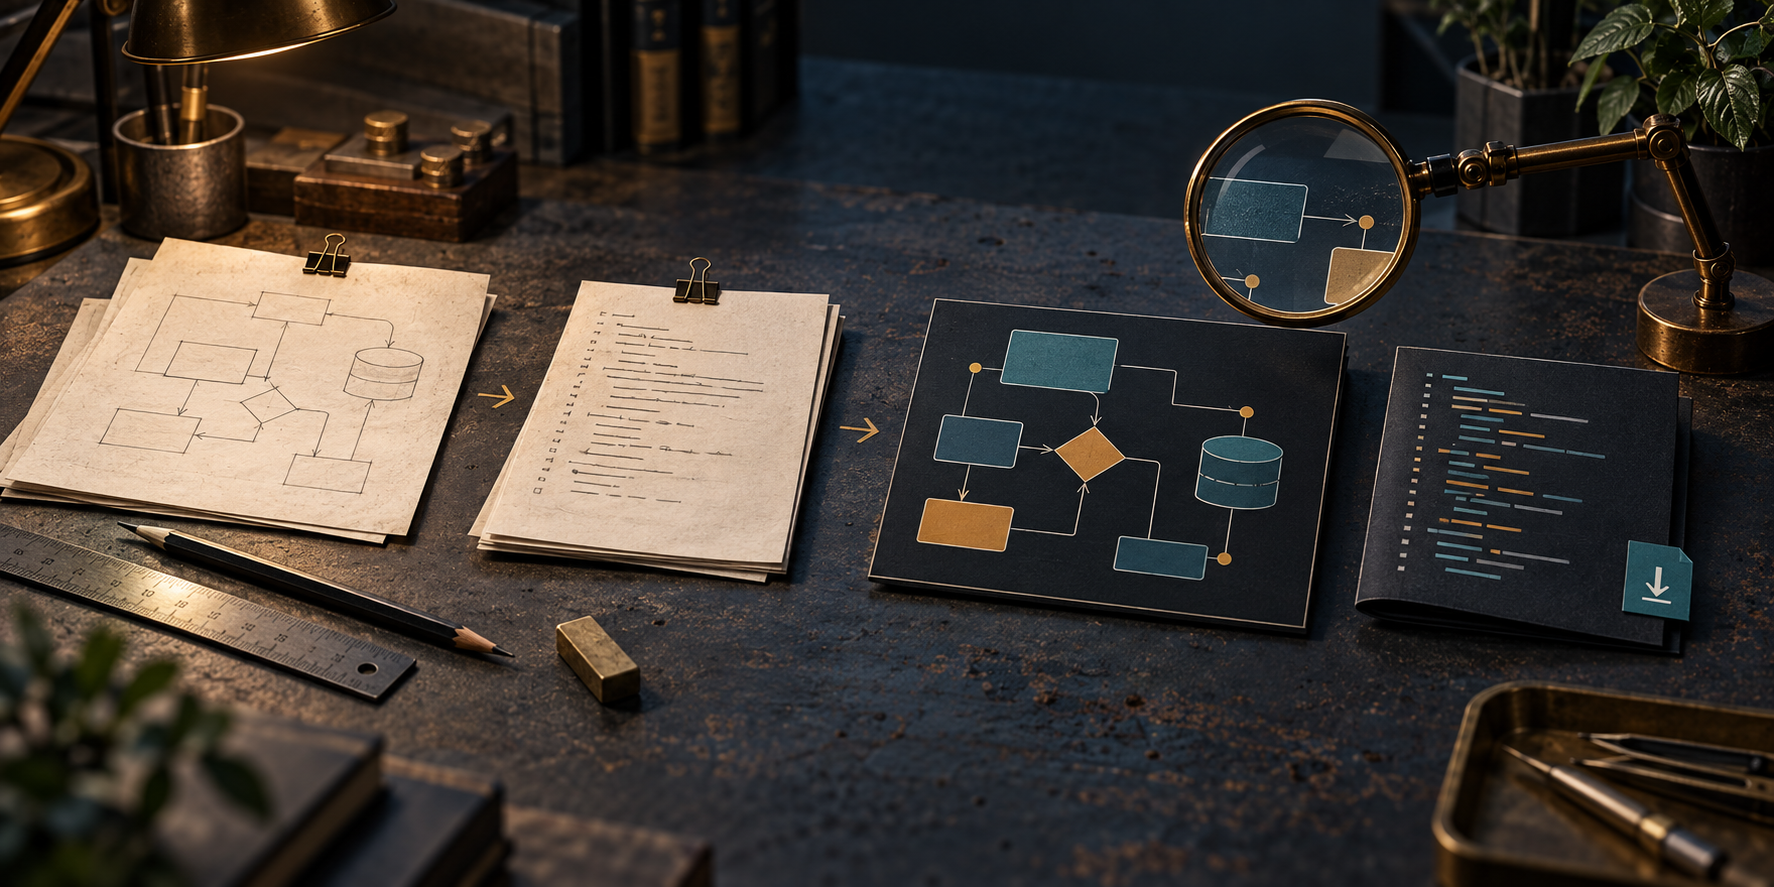
The Part 6 article shows two diagrams in the finished page. This exercise starts one step earlier, with the actual .dot and .mmd files behind them. I want to see a source edit turn into a new SVG and PNG before Jekyll ever gets involved. That is how I work on this site today: render, inspect, and then let Jekyll publish the reviewed image.
There is no package-installation test here. You need Python 3 only if you also try the site’s helper at the end; the main exercise needs the dot executable from Graphviz and mmdc from Mermaid CLI already on your path. The Graphviz source-build guide and Mermaid CLI instructions are available if you need to set those up. I have tested the rendering steps with installed tools, not a fresh installation on every reader’s machine.
Get the Sources
The two files below are the same public files Part 6 displays in its collapsed source viewers. They are not recreated snippets in this page. This is a local exercise with site examples, not a reusable software package or a license grant:
From a checkout of this site, you can use those files directly under html/assets/code/jekyll-site-tooling/post-06/. If you are following along from the published page, the commands below download copies to a new working directory. Set site_origin to http://localhost:4000 if you are reading a local Jekyll preview before publication.
mkdir -p diagram-lab
cd diagram-lab
site_origin=https://unixwzrd.ai
curl -fsSL "$site_origin/assets/code/jekyll-site-tooling/post-06/jekyll-post-06-diagram-path.dot" -o publishing.dot
curl -fsSL "$site_origin/assets/code/jekyll-site-tooling/post-06/jekyll-post-06-source-path.mmd" -o source-viewer.mmd
dot -V
mmdc --version
The curl -fsSL commands fail if either download is missing. Stop there rather than rendering an error page as if it were diagram source. You can also use the two download links above and save the files under the names in the commands.
Render Both Formats
Run each renderer on its own source. The SVG is the scalable article image; the PNG is a separate companion output.
dot -Tsvg publishing.dot -o publishing.svg
dot -Tpng -Gdpi=150 publishing.dot -o publishing.png
mmdc -i source-viewer.mmd -o source-viewer.svg -t dark -b transparent
mmdc -i source-viewer.mmd -o source-viewer.png -t dark -b transparent -w 1600 -s 1.5
Open both SVGs in a browser. Check that the labels are legible, the arrows point where the text says they do, and the colors make sense on a dark page. Then inspect the PNGs. A successful command only proves that the renderer produced files; it does not prove the figure communicates the right thing.

The site publishes this reviewed SVG. Your local render is a separate copy until you deliberately put it into a Jekyll page.
Change a Label and Render Again
Make one small change in a copy of each source, so the originals remain available for comparison:
sed 's/One figure, two reading sizes/One edited figure/' publishing.dot > edited.dot
dot -Tsvg edited.dot -o edited.svg
rg -q 'One edited figure' edited.svg && echo 'DOT label reached SVG'

sed 's/Collapsed disclosure/Reader opens source/' source-viewer.mmd > edited.mmd
mmdc -i edited.mmd -o edited-mermaid.svg -t dark -b transparent
rg -q 'Reader opens source' edited-mermaid.svg && echo 'Mermaid label reached SVG'
Open the two new SVGs. The text check tells you the edited label reached the output; looking at the figure tells you whether the layout still works. If rg is not installed, search the generated SVG text with your usual text tool. The Mermaid renderer may write percentage-based SVG dimensions; the site’s Python helper also normalizes those dimensions for its full-size viewer.
Where This Meets the Site
For Part 6, I keep the editable files under html/assets/code/ so readers can inspect and download them. I use utils/bin/render-blog-diagram.py in the repository to generate SVG and PNG together from either source. I review those files, then the article’s blog_diagram.html include points at the SVG under html/assets/images/blog/. Jekyll copies the asset and renders the include when it builds the page. A normal rebuild does not run dot, mmdc, or the Python helper, so changing the source alone does not update the published figure.
If you have this repository checked out, run the helper with an output stem under a temporary directory first, leaving the site’s reviewed assets alone:
python3 utils/bin/render-blog-diagram.py html/assets/code/jekyll-site-tooling/post-06/jekyll-post-06-diagram-path.dot /tmp/part-06-dot-check/figure
python3 utils/bin/render-blog-diagram.py html/assets/code/jekyll-site-tooling/post-06/jekyll-post-06-source-path.mmd /tmp/part-06-mmd-check/figure
Run those two commands from the repository root, not from diagram-lab. The helper checks that the SVG parses and neither output is empty before replacing an existing pair. It does not build the site, alter the article, or install either renderer. If you later adapt this process for your own Jekyll site, place reviewed outputs in your asset tree and reference them from a figure include or Markdown image with meaningful alternative text.
What the Exercise Proves
You can edit both source languages and reproduce the corresponding image files without involving Jekyll. You can also see why I keep source, generated image, and article markup separate. This exercise does not test a new Graphviz or Mermaid installation, the site’s build wrapper, or automatic regeneration on publication. The latter is still an idea, not a step in the current pipeline.
The next installment turns from visual review to listening to the prose. A diagram can survive a render check and still be confusing; an article can survive a build check and still sound wrong when I read it aloud.
Join the Discussion
Comments for this post live in GitHub Discussions. That keeps moderation in one place and gives the conversation a stable home.