
Hands-On: Isolated Remote Development with SSH
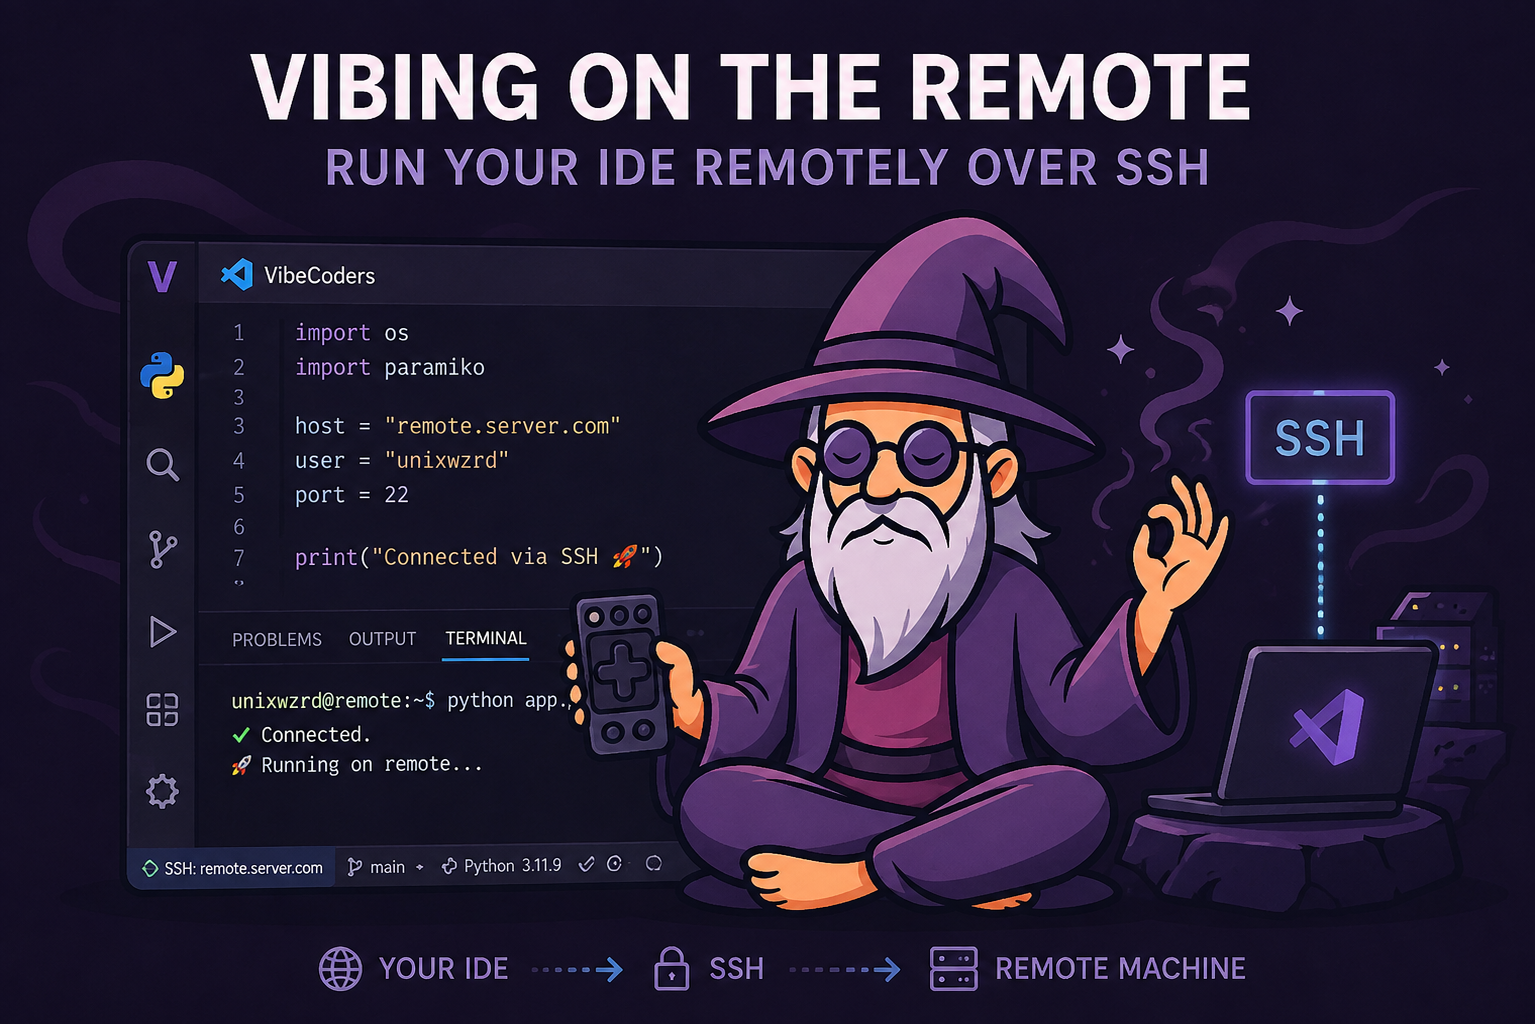
This is the practical companion to Remote Debugging with VS Code and Its Derivatives. That article explains why I put a tested SSH connection underneath the editor and debugger. Here I am going to build the arrangement from the ground up.
The useful part of this design is that the target can change without changing the workflow. It can be another account on the Mac in front of me, a second machine on my LAN, or a VPS across the Internet. In every case I want the same result: a named SSH destination, key-based authentication, a distinct user environment, and no debugger port exposed to the network.
I use macOS as the client in the examples, with an Ed25519 key at the usual path. The target examples are deliberately generic. 192.0.2.0/24 and 203.0.113.0/24 are documentation networks, not addresses from my environment, and every username and host alias below is invented.
Decide Where the Isolated Environment Will Live
I start by choosing one of three targets:
| Target | SSH destination | What it proves |
|---|---|---|
| Another account on this Mac | 127.0.0.1 |
Account and environment isolation without another computer |
| Another Mac or Linux host | A private LAN address or resolvable hostname | Development against different hardware or operating-system state |
| A VPS | A provider hostname or public address | The same workflow across an untrusted network boundary |
For the local case, I create a standard account in System Settings → Users & Groups. Under General → Sharing → Remote Login, I allow access only for the isolated account rather than enabling every user. I do not grant Full Disk Access unless the workload has a specific, reviewed reason to need it.

Even on one Mac, the SSH connection crosses an account boundary. The editor keeps its private key and user interface in my developer account, while the repository, virtual environment, Python process, and editor-side services live under the isolated account.
On another Mac, I use the same Remote Login control. On Linux or a VPS, I use a normal non-root account created through the operating system or provider console. I make sure I can recover through the physical console or provider console before changing SSH authentication. A separate account is useful isolation, but it is not magic: membership in privileged groups, permissive file modes, mounted directories, and sudo can all defeat the boundary.
Step 1: Check for an Existing SSH Key
On the Mac where the editor runs, I inspect the usual key path before generating anything:
ls -l ~/.ssh/id_ed25519 ~/.ssh/id_ed25519.pub
If both files already exist and this is the identity I intend to use, I leave them alone. If they do not exist, I create a new Ed25519 key:
ssh-keygen -t ed25519 -C "remote-development"
ssh-keygen shows the destination before writing. I confirm it rather than blindly accepting a path that might replace another key. I use a passphrase and let ssh-agent or the macOS keychain handle repeated unlocks.
The .pub file is the public key I distribute. The file without .pub is the private key, and it stays on the client machine.
I also record the public-key fingerprint. It gives me a compact value to compare when I later review or revoke access:
ssh-keygen -lf ~/.ssh/id_ed25519.pub
Step 2: Add Stable Host Aliases
I put the destinations in ~/.ssh/config before involving an editor. This gives the terminal, VS Code, Cursor, Windsurf, Git, scp, rsync, and port-forwarding commands the same names and connection settings.
Host isolated-local
  HostName 127.0.0.1
  User isolateddev
  IdentityFile ~/.ssh/id_ed25519
  IdentitiesOnly yes

Host lab-machine
  HostName 192.0.2.20
  User isolateddev
  IdentityFile ~/.ssh/id_ed25519
  IdentitiesOnly yes

Host development-vps
  HostName 203.0.113.40
  User isolateddev
  IdentityFile ~/.ssh/id_ed25519
  IdentitiesOnly yes
I replace the sample account and addresses with the real values in my private configuration. IdentitiesOnly yes keeps an agent containing several keys from offering unrelated identities to this host.
I can see what OpenSSH will actually use after it combines the alias with system and user defaults:
ssh -G development-vps | \
  rg '^(hostname|user|identityfile|identitiesonly) '
This is worth checking before troubleshooting an editor. A misspelled alias or an unexpected username is much easier to see here.
Step 3: Install the Public Key
The first login needs an existing path into the target account: its password, a provider-installed key, a physical console, or a VPS console. I verify the target’s host-key fingerprint through that independent channel before accepting a first-connection prompt. The host key identifies the server; my Ed25519 key identifies me to it. They solve different problems.
Where ssh-copy-id is available, I install the public key through the alias:
ssh-copy-id -i ~/.ssh/id_ed25519.pub isolated-local
ssh-copy-id -i ~/.ssh/id_ed25519.pub lab-machine
ssh-copy-id -i ~/.ssh/id_ed25519.pub development-vps
For several known targets, the same operation can be expressed without copying the private key or replacing anybody’s complete authorization file:
for target in isolated-local lab-machine development-vps; do
  ssh-copy-id -i ~/.ssh/id_ed25519.pub "$target"
done
I do not synchronize whole authorized_keys files between accounts. A target might already contain a recovery key, automation identity, or another administrator’s key. Installing one public-key line preserves those independent authorizations and makes later revocation easier to review.
If ssh-copy-id is unavailable, I display the public key locally:
cat ~/.ssh/id_ed25519.pub
While logged in as the target account through its console or existing authentication method, I prepare the directory and file with the conventional permissions:
mkdir -p ~/.ssh
chmod 700 ~/.ssh
touch ~/.ssh/authorized_keys
chmod 600 ~/.ssh/authorized_keys
I then append the public-key line to ~/.ssh/authorized_keys. The target account must own its home directory, .ssh directory, and authorized_keys file. OpenSSH normally refuses a key file that other users can replace or modify.
Step 4: Prove Authentication Without the Editor
I log in normally first:
ssh isolated-local
Inside the session, I verify that I landed in the intended account and home directory:
id
printf 'HOME=%s\n' "$HOME"
I exit and repeat the check in BatchMode. This turns an unexpected password prompt into a failure:
ssh -o BatchMode=yes isolated-local \
  'id; printf "HOME=%s\nSSH_OK\n" "$HOME"'
I run the same check against lab-machine or development-vps. Until this succeeds, I leave the editor closed. That gives me a clean boundary between SSH configuration and editor behavior.
If authentication fails, I inspect the connection with:
ssh -vv isolated-local
The verbose trace shows which configuration and identities OpenSSH considered. On the target, I inspect permissions and ownership without printing the key itself:
ls -ld "$HOME" "$HOME/.ssh" "$HOME/.ssh/authorized_keys"
I do not disable password access on a VPS until key authentication and provider-console recovery have both been tested. Locking down an unverified path is a good way to lock myself out.
Step 5: Prepare a Small Remote Python Project
I connect to the target and create a disposable project under the isolated account:
mkdir -p ~/projects/remote-debug-demo
cd ~/projects/remote-debug-demo
python3 -m venv .venv
source .venv/bin/activate
python -m pip install --upgrade pip debugpy
I create demo.py with a deliberately small program and an application-side debugger hook:
import logging
import os
from time import sleep

import debugpy


logging.basicConfig(level=logging.INFO)
logger = logging.getLogger(__name__)


def remote_debugger_activate(
    host: str = "127.0.0.1",
    port: int = 5678,
    *,
    wait_for_client: bool = True,
) -> None:
    """Start a loopback-only debugpy listener for an SSH-tunneled attach."""
    debugpy.listen((host, port))
    logger.warning("Debugger listening on %s:%d", host, port)
    if wait_for_client:
        logger.warning("Waiting for debugger to attach")
        debugpy.wait_for_client()
        logger.warning("Debugger attached")


def running_total(limit: int) -> int:
    total = 0
    for value in range(limit):
        total += value
        sleep(0.25)
    return total


if __name__ == "__main__":
    if os.environ.get("REMOTE_DEBUG") == "1":
        remote_debugger_activate()
    result = running_total(10)
    print(f"result={result}")
This is not interesting application code; that is useful here. I can put a breakpoint on total += value, inspect total and value, and know that any surprising behavior belongs to the development connection rather than the application. The debugger path is enabled only when I set REMOTE_DEBUG=1, so an ordinary run does not unexpectedly stop and wait for an editor.
I use the numeric loopback address deliberately. localhost normally resolves to loopback too, but it does not mean “all interfaces,” and address-family differences can make a tunnel harder to diagnose. Binding to 127.0.0.1 makes the IPv4 listener agree exactly with the SSH forwarding commands later in the tutorial. The final “Debugger attached” message belongs after wait_for_client() inside the helper; placing it after the function definition would log during module import before any debugger had connected.
Step 6: Open a Remote Workspace
In VS Code, I install Remote - SSH, open the Command Palette, run Remote-SSH: Connect to Host…, and choose isolated-local, lab-machine, or development-vps. In the remote window I open ~/projects/remote-debug-demo.
Cursor and Windsurf use the same underlying SSH configuration model, but I install the Remote SSH implementation supplied or recommended by that editor. I do not assume the Microsoft extension package is interchangeable with a derivative editor’s own build. If the connection fails, I open that editor’s Remote SSH output log only after the terminal command succeeds.
In the remote integrated terminal, I verify the boundary again:
whoami
printf '%s\n' "$HOME"
python3 --version
pwd
The shell, Python interpreter, extensions, language servers, debugger, and many agent-side tools now run under the target account. On a VPS, the same arrangement works even though the editor UI remains on my Mac.

There is no separate debugger tunnel in this configuration. The editor’s remote server launches and controls Python on the target, so the debugger and source files already share the same filesystem and account.
Step 7: Debug Inside the Remote Workspace
For the ordinary case, I let the remote editor window launch Python. I add .vscode/launch.json to the remote project:
{
  "version": "0.2.0",
  "configurations": [
    {
      "name": "Python: Remote Workspace Demo",
      "type": "debugpy",
      "request": "launch",
      "program": "${workspaceFolder}/demo.py",
      "python": "${workspaceFolder}/.venv/bin/python",
      "console": "integratedTerminal"
    }
  ]
}
I place a breakpoint inside running_total, select Python: Remote Workspace Demo, and start debugging. Because the workspace and interpreter are both on the target, there is no local-to-remote source mapping to maintain. This is the simplest and most reliable approach for normal development.
If a derivative editor uses a slightly different Python extension, I let it create a minimal launch configuration first and compare the generated fields. The important boundary is not the spelling of a menu item; it is that the selected interpreter and source files both belong to the target account.
Step 8: Attach Through an SSH Tunnel
The second procedure is for a process started outside the editor. On the target, from the project virtual environment, I activate the debugger hook that is already part of demo.py:
source ~/projects/remote-debug-demo/.venv/bin/activate
cd ~/projects/remote-debug-demo
REMOTE_DEBUG=1 python demo.py
The process waits inside remote_debugger_activate(), but debugpy listens only on the target’s loopback interface. I do not add port 5678 to a VPS firewall or security group. This in-process form is useful when I want the application to decide exactly where debugger startup occurs.
For an application I cannot or do not want to modify, the equivalent command-line wrapper remains available:
python -m debugpy \
  --listen 127.0.0.1:5678 \
  --wait-for-client \
  demo.py
I use one method or the other, never both for the same process, because only one listener can own the address and port.

The drawing is the same whether the SSH destination is another account on this Mac or a machine across the network. Only the SSH route changes. From the editor’s point of view, the debugger is always on local loopback; from the application’s point of view, debugpy is always on target loopback. SSH is the only bridge between them.
From a local terminal on my Mac, I create the tunnel:
ssh -N -L 5678:127.0.0.1:5678 development-vps
For the same-machine account or LAN host, I replace the final alias with isolated-local or lab-machine. The editor always attaches to local 127.0.0.1:5678; SSH carries the traffic to the target’s loopback listener.
If I keep a local copy of the same source revision open in the editor, I use this attach configuration:
{
  "version": "0.2.0",
  "configurations": [
    {
      "name": "Python: Attach Through SSH",
      "type": "debugpy",
      "request": "attach",
      "connect": {
        "host": "127.0.0.1",
        "port": 5678
      },
      "pathMappings": [
        {
          "localRoot": "${workspaceFolder}",
          "remoteRoot": "/home/isolateddev/projects/remote-debug-demo"
        }
      ]
    }
  ]
}
The sample remoteRoot is appropriate for the Linux/VPS example. A macOS target uses a different home-directory prefix, so I replace the sample with the exact path printed by pwd on the target. The local and target files must represent the same source revision or breakpoints can land on the wrong lines.
When I am already in a Remote SSH editor window, I can instead forward port 5678 through its Ports view and attach from that workspace. Either way, the debugger remains bound to target loopback and SSH provides the reachable path.
Step 9: Confirm the Debugger Is Not Public
On a Linux target, I inspect the listener:
ss -ltn | rg ':5678'
On macOS, I use:
lsof -nP -iTCP:5678 -sTCP:LISTEN
I expect to see 127.0.0.1:5678, not 0.0.0.0:5678 and not the host’s LAN or public address. A non-default port is not a security control. A debugger can inspect process memory and execute code in the target process, so I keep it behind authenticated SSH and stop it when I finish.
For a VPS, only the SSH service needs to be reachable for this workflow. I use the provider firewall to limit SSH exposure where practical, keep the provider console available for recovery, and never create a public rule for the debugger.
Step 10: Close and Revoke Cleanly
I stop the attach session, terminate the debugpy process, and close the forwarding terminal. A tunnel created with ssh -N -L exists only while that SSH process is running.
If an account should no longer accept my key, I compare its public-key line with the fingerprint I recorded earlier and remove only that line from ~/.ssh/authorized_keys. I do not delete the entire file because it may contain other valid identities. I then confirm revocation from the client:
ssh -o BatchMode=yes isolated-local 'echo SHOULD_NOT_RUN'
For a temporary VPS, destroying the instance through the provider is a separate lifecycle decision. I still remove or revoke credentials first when the machine will remain in service or be handed to somebody else.
The Finished Path
At the end of this exercise, the path is simple enough to reason about:
For normal development, the local editor resolves an OpenSSH host alias, authenticates as the target account, and opens a workspace whose interpreter and tools run in that account. For an attach session, the local debugger connects to loopback, SSH forwards that connection to loopback on the target, and debugpy receives it without accepting traffic from the LAN or Internet.
The same structure works on one Mac, across a LAN, or on a VPS. What changes is the hostname and the target operating system. The authentication boundary, account boundary, editor connection, and debugger tunnel stay recognizable.
For the reasoning behind those boundaries, return to Remote Debugging with VS Code and Its Derivatives.
Join the Discussion
Comments for this post live in GitHub Discussions. That keeps moderation in one place and gives the conversation a stable home.