
Remote Debugger With VSCode and Its Derivatives
How to Debug Remotely with VSCode
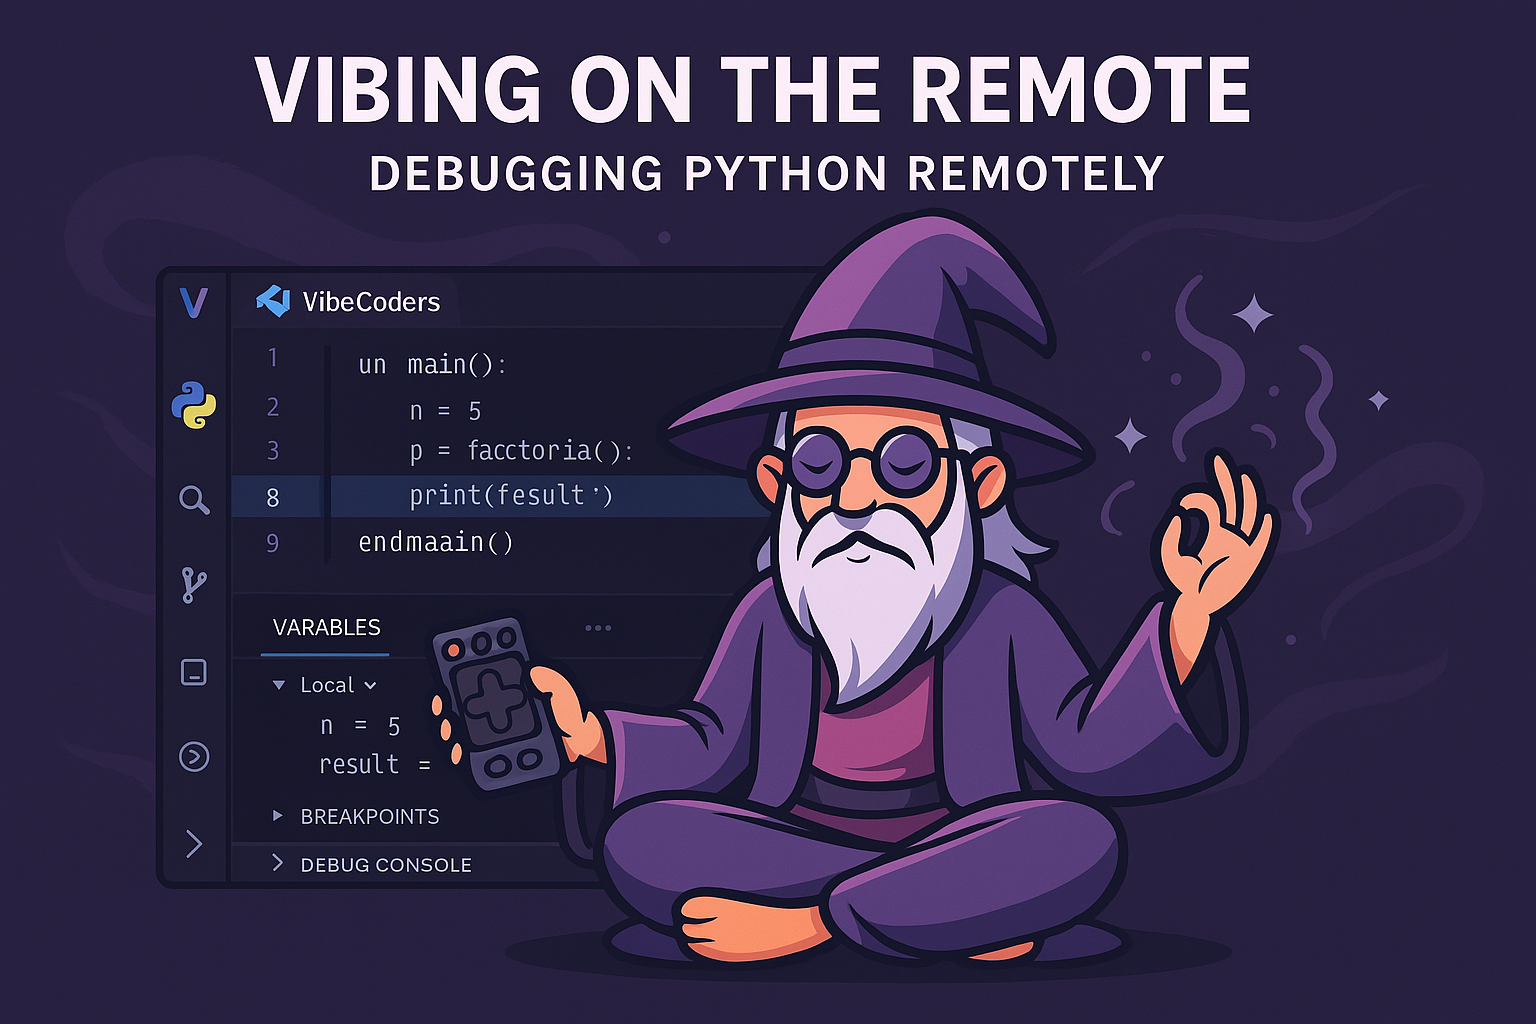
Recently, someone asked how to connect to a remote process and debug it. If you’re using VSCode—or any of its forks such as Cursor or Windsurf—the following method can save you hours of troubleshooting compared to relying on log files or print statements. A proper debugger lets you inspect variables, step through code, and quickly identify issues. Here’s how I set up remote debugging.
The Setup
Setting up remote debugging with VSCode is surprisingly simple and can often be done in just a few minutes. I encapsulated the necessary code into a small Python module that you can import into your projects.
Launch Configuration
First, configure your launch.json in VSCode with the following configuration:
    {
        "name": "Python: Attach to Process",
        "type": "debugpy",
        "request": "attach",
        "connect": {
            "host": "localhost",
            "port": 5678
        },
        "pathMappings": [
            {
                "localRoot": "${workspaceFolder}",
                "remoteRoot": "."
            }
        ]
    }
This tells VSCode to attach to a debug server running on port 5678. The pathMappings field ensures that file paths on your remote system map correctly to your local workspace.
The Debug Module
Next, create a module (for example, debug_my.py) with the following code:
    import debugpy
    from modules.logging_colors import logger

    def remote_debugger_activate():
        """
        Starts the debugpy server. In a real application, ensure this is secured properly.
        """
        # Listen on all interfaces (0.0.0.0); in production, restrict this if possible.
        debugpy.listen(('0.0.0.0', 5678))
        logger.critical("Debugging enabled. Waiting for debugger to attach...")
        debugpy.wait_for_client()  # The process will block here until a debugger attaches.
    logger.critical("Debugger attached.")
Setup your code to start the debugger
Then, in your main Python application, import and call the function where you need to start remote debugging:
from debug_my import remote_debugger_activate

# ... your code ...

if args.remote_debug:
    remote_debugger_activate()

# ... rest of your code ...
Running the Debugger
- Start your Python application on the remote host (or locally under a different user).
- In VSCode, go to the “Run and Debug” view and select your “Python: Attach to Process” configuration.
- Press the run button in VSCode.
- The remote process will block at debugpy.wait_for_client() until VSCode attaches.
- Once attached, your code continues execution, and you can begin interactive debugging.
Security Considerations
Keep in mind that exposing a debug server can be a significant security risk:
- Restrict Network Access: In a secure environment, bind the debug server only to localhost or use SSH tunneling.
- Disable Debugging When Not Needed: Always disable remote debugging when it’s not actively required for troubleshooting.
- Use a Non-Default Port: If necessary, choose a port that is not commonly targeted.
Troubleshooting Tips
- Port Conflicts: Verify that port 5678 is available or change it if necessary.
- Connectivity Issues: Ensure your remote machine allows incoming connections on the chosen port.
- Log Verbosity: Increase your debugger or application log level for more detailed diagnostics if debugging fails to attach.
Why Remote Debugging?
Remote debugging provides an interactive, real-time view into your application’s state. Rather than sifting through log files or inserting temporary print statements, a debugger lets you:
- Step through your code.
- Inspect variables.
- Evaluate expressions on the fly.
This capability can significantly speed up bug resolution and reduce downtime.
Further Resources
I hope this guide helps you set up a more efficient and effective remote debugging workflow using VSCode or its variants. Happy debugging!
Additional Information
- Security Considerations
Remote debugging can be a security risk if left enabled in production. You might add a short section on securing the debug server, for example:
- Restrict Network Access: Mention that in a production setting you should bind the debug server to a specific interface or use firewall rules so that only trusted hosts can connect.
- Use Authentication (if available): Debugpy and similar tools may provide options for authentication or you can tunnel the debug connection over SSH. Explain briefly how to do that, for example, by creating an SSH tunnel:
ssh -L 5678:localhost:5678 user@remote_host
- Disable Debugging When Not Needed: Emphasize that remote debugging should only be enabled when needed for troubleshooting and then promptly disabled.
- More Detailed Explanation of pathMappings
Many users might not be familiar with pathMappings in the launch.json. You could explain how localRoot and remoteRoot work—i.e. that they help map the file system structure between the remote host and your local development environment, ensuring breakpoints are placed in the correct files.
- Troubleshooting Tips
Add a brief section that covers common pitfalls:
- Port Conflicts: If the specified port (5678 in your example) is in use by another process, mention that users should either free that port or choose a different one.
- Connection Timeouts: If the debugger fails to attach, advise readers to verify that the remote machine can reach the debug server (e.g. by checking connectivity or firewall settings).
- Log Verbosity: Explain that increasing the debug level (using your -d option) might provide helpful logs if something goes wrong.
- Benefits of Remote Debugging
You might add a paragraph or two about why remote debugging is so valuable:
- Reduced Downtime: Instead of relying on print statements, remote debugging allows interactive inspection of variables and flow control, saving significant time.
- Enhanced Productivity: Developers can step through code in real time, even on remote servers, which can be crucial when dealing with production issues or complex distributed systems.